Nameservers are the top-level authority for any domain’s DNS records. The Nameservers determine where the DNS records are going to be hosted.
xByte Hosting provides the following 3 Nameservers for domains that are registered with us. If you wish to use a different set of Nameservers, then that’s okay. This article will serve as a guide for managing your domain(s) Nameservers via the billing control panel.
-
To begin, you must log in to the billing control panel. Below is our Billing Control Panel URL.
Billing Control Panel: https://billing.xbytehosting.com/
-
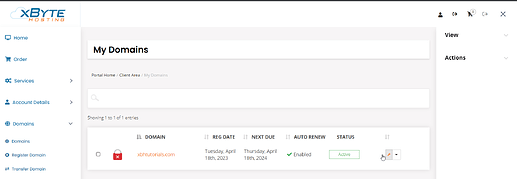
Select “My Domains” from the dashboard.
-
Click on the Wrench Icon for the Domain you’re trying to manage.
-
Click on the "Manage" drop-down on the right, then select “Nameservers ”.
-
To change your Nameservers, select the radio that says “Use custom nameservers (enter below)”. Then replace the “*.xbytehosting.com” nameservers with your custom nameservers.
- ns1.xbytehosting.com, ns2.xbytehosting.com, and ns3.xbytehosting.com are the default nameservers that we provide with all domain registrations and transfers.
-
Click on “Change Nameservers” if you’re ready to save your changes!
If you have questions or encounter issues, please don’t hesitate to reach out to [email protected].


