When new builds of Smartermail are released, there will be a notification in the Smartermail interface for the server admin user. This article is to provide steps on how to log in to your Smartermail admin to check for these notifications and provide steps on how to update.
How to check SmarterMail update notifications
- Browse to mail.yourdomain.com(Replace yourdomain with your actual domain) or RDP onto the server and browse to 127.0.0.1:9998
- Use the SmarterMail credentials that are found in your billing control panel, follow the documentation below to find those credentials:
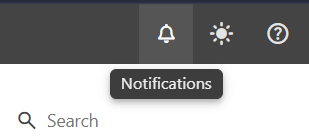
Finding your Cloud Server and Service Login Information - Once you are logged in, Click the bell icon on the top right corner.
Clicking this will display all Smartermail notifications for you.
How to update SmarterMail
- Back up your SmarterMail installation and data.(If you have nightly backups for your server, you should only need to backup the Smartermail installation.)
- Download the latest automated installer from the following link: Linux and Windows Downloads for SmarterMail Business Email Server
- Stop the SmarterMail service on the server.
- Uninstall SmarterMail. This is an important step in performing a build upgrade that should not be skipped. All configuration data and email will be preserved.
- Run the SmarterMail installer.
- During the installation process, you will be prompted for the installation path. In order to keep existing data and settings, install to the same path used in previous installs. For reference, the default installation location is C:\Program Files\SmarterTools\SmarterMail.
- The rest of the installation process should present you with all the same configuration as was previously being used, but as a precaution, give each prompt a double check before clicking through.
- Once you have completed the installation of the new build, log in and make sure that everything is working as expected.