xByte Dashboard - Scheduling a ColdFusion Update
This article will serve as a guide for scheduling ColdFusion Updates on your dashboard-enabled servers.
Prerequisites
Customers with MSaaS or Enterprise Plus Support may schedule updates directly through our update form in the portal. Our system automatically detects if your account includes one of these support packages.
If you believe your account qualifies but are unable to schedule the update, please contact [email protected].
Steps
- To begin, you’ll need to access your server’s dashboard. Below is our documentation on how to get to this page:
-
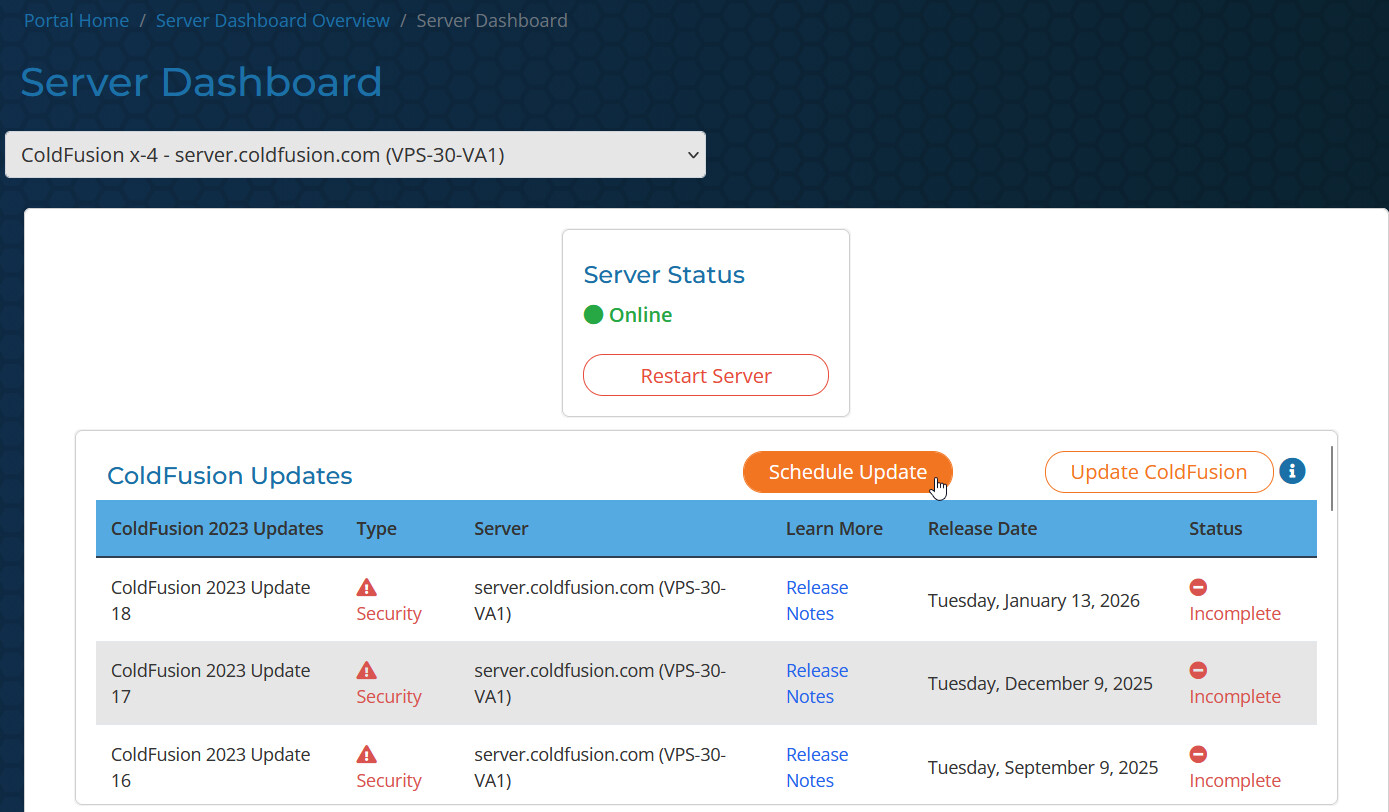
Select “Schedule Update” from the top of the “ColdFusion Updates” table.
-
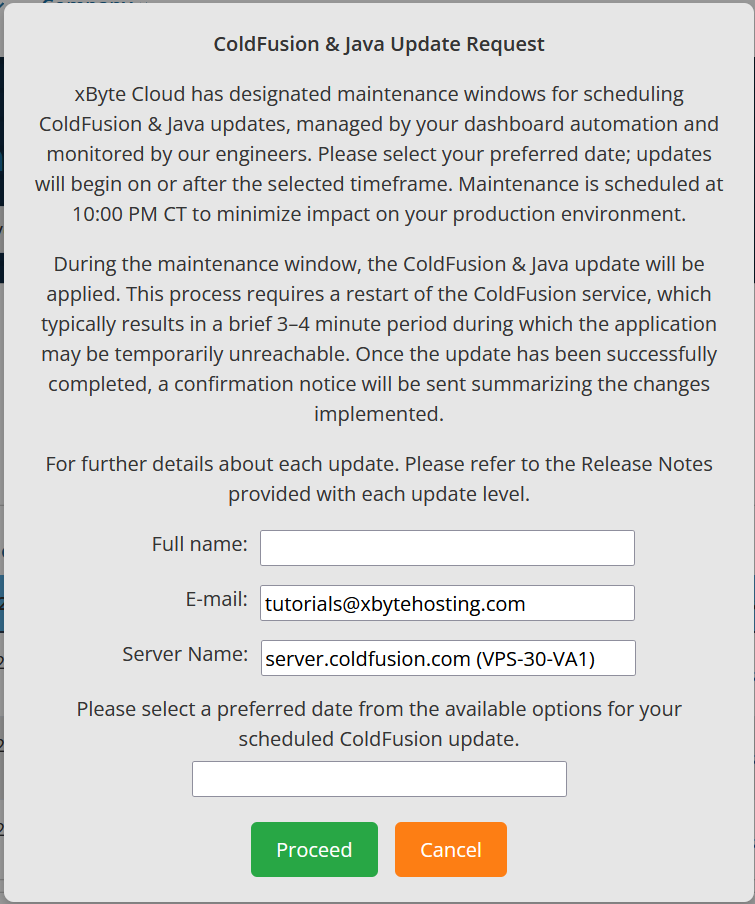
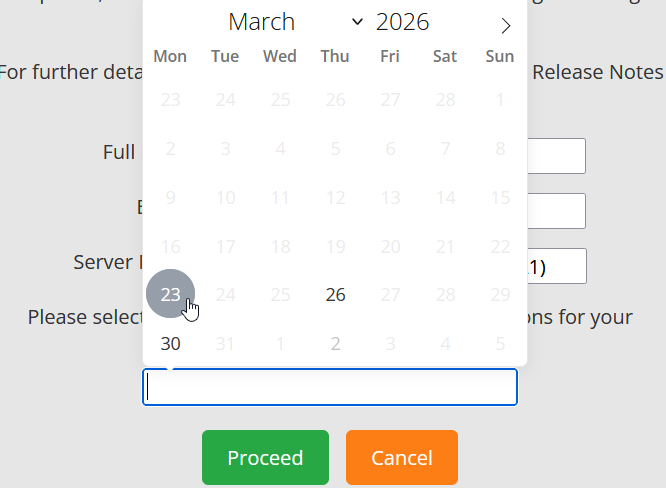
A form will appear asking you to input your full name and to select a date for the update. All updates are performed at 10:00 PM CT via your dashboard automation. Once you’ve filled out the form, select the “Proceed” button to submit your request.
-
That’s it! You’ve successfully scheduled one of your server’s ColdFusion services to be updated to the latest version. If you have other servers you want to update, navigate to the dashboard for that server and click the “Schedule Update” button.