Introduction
IIS is Microsoft’s standard webserver that comes pre-installed on all of our Windows cloud servers. The goal of this article is to walk you through our recommended steps for creating new sites in IIS.
Step-by-Step Guide
Step 1: Open IIS on your Server.
-
Remote into your server.
-
Click the search icon and type “IIS”.
-
Select “Internet Information Services (IIS) Manger”.
Step 2: Add our site
-
Expand the server node on the left until you see the “Sites” folder.
-
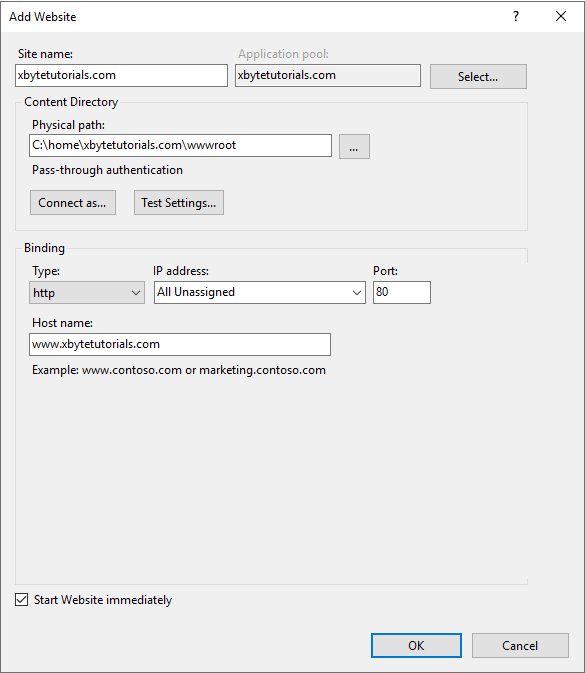
Right-click on “Site” and select “Add Website…”.
-
Fill in the following details:
- Site name:
- Physical Path:
- Host name:
Note: We recommend using a physical path in the C:\home directory. Similar to our screenshot.
Step 2: Edit bindings
-
Now we need to add the non-www binding. Right-click your new site and select “Edit Bindings…”
-
Select “Add”.
-
Fill in the “Host name:” field and click “OK” once you’re done.
HTTPS binding steps
- Add a new binding to the site.
- Change the “Type” To “https”.
- Fill in the “Host name:”.
- Check the “Require Server Name Indication” box.
- Choose your SSL from the “SSL Certificate” drop-down.
Step 3: Add Virtual Directories (ColdFusion Only)
If your site utilizes ColdFusion, then you’ll need to add the “cf_scripts” and “jakarta” virtual directories:
-
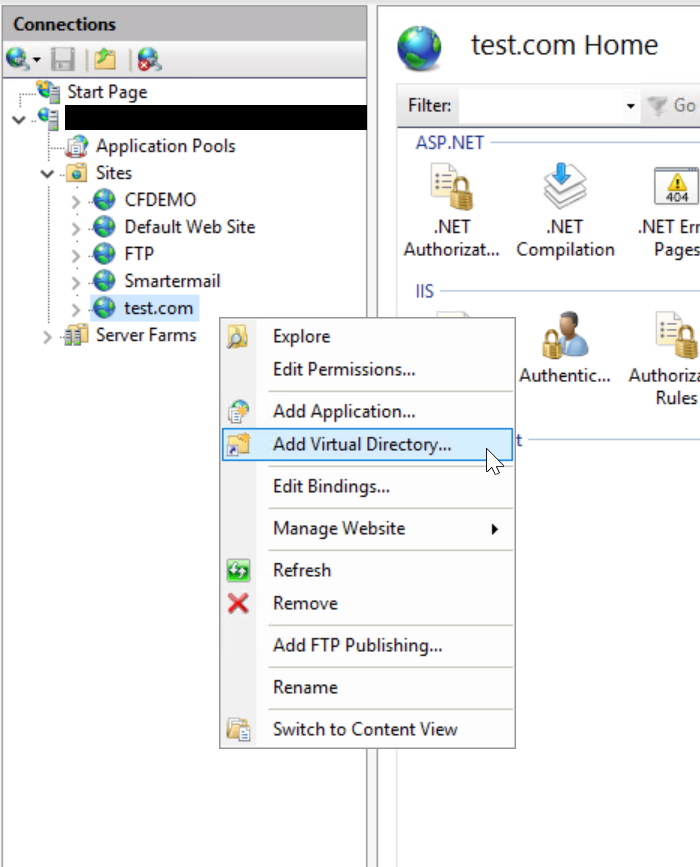
Right click on your site and select “Add Virtual Directory”
-
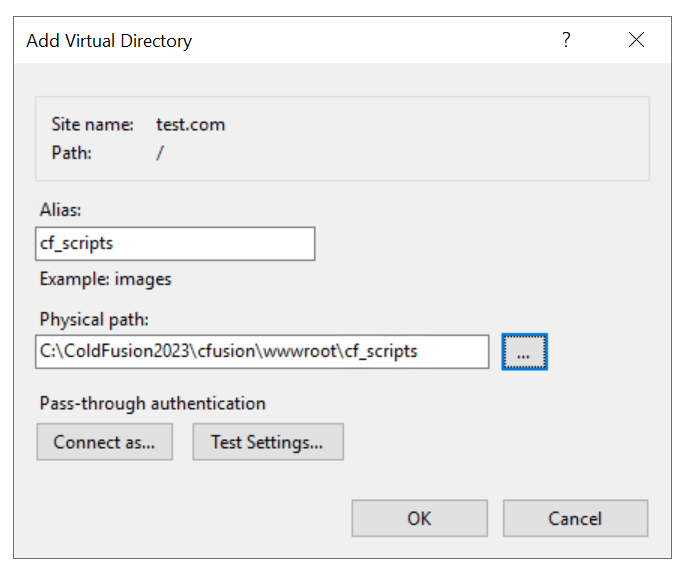
Create the “cf_scripts” virtual directory with the following file path:
C:\ColdFusion2023\cfusion\wwwroot\cf_scripts -
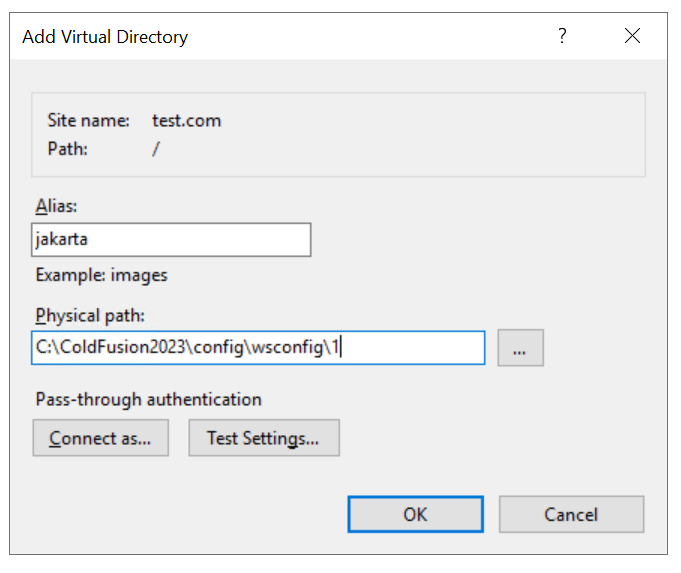
Create the “jakarta” virtual directory with the following file path:
C:\ColdFusion2023\config\wsconfig\1
Step 4: Configure ColdFusion Tomcat Connector - Required for 50 sites or more in IIS
ColdFusion 2025 Steps
-
Open PowerShell ISE on your server and paste the following script into it.
# Name of site in IIS that you'll be configuring. # Reference the site you've created in IIS. $site = "domain.com" # Ensure you've configured the above variable to reference the new site you've created in IIS. # Execute wsconfig and capture output $results = & "C:\ColdFusion2025\cfusion\runtime\bin\wsconfig.exe" -ws IIS -site $site -norestart # Check if the output was successful or not if ($results -like "*This web server is already configured for ColdFusion*") { # Unsuccessful. Need to run the removal command first. & "C:\ColdFusion2025\cfusion\runtime\bin\wsconfig.exe" -remove -ws IIS -site $site -norestart # Now run the creation command & "C:\ColdFusion2025\cfusion\runtime\bin\wsconfig.exe" -ws IIS -site $site -norestart } else { # Do nothing. Successful. } -
Change the
$sitevariable to reference your newly created site in IIS. -
Hit the “run” button for the script to execute.
-
Review the ISAPI Filters, Handler Mappings, and Virtual Directories in IIS for your newly created site to ensure the ColdFusion references were created as expected.
ColdFusion 2023 Steps
-
Open PowerShell ISE on your server and paste the following script into it.
# Name of site in IIS that you'll be configuring. # Reference the site you've created in IIS. $site = "domain.com" # Ensure you've configured the above variable to reference the new site you've created in IIS. # Execute wsconfig and capture output $results = & "C:\ColdFusion2023\cfusion\runtime\bin\wsconfig.exe" -ws IIS -site $site -norestart # Check if the output was successful or not if ($results -like "*This web server is already configured for ColdFusion*") { # Unsuccessful. Need to run the removal command first. & "C:\ColdFusion2023\cfusion\runtime\bin\wsconfig.exe" -remove -ws IIS -site $site -norestart # Now run the creation command & "C:\ColdFusion2023\cfusion\runtime\bin\wsconfig.exe" -ws IIS -site $site -norestart } else { # Do nothing. Successful. } -
Change the
$sitevariable to reference your newly created site in IIS. -
Hit the “run” button for the script to execute.
-
Review the ISAPI Filters, Handler Mappings, and Virtual Directories in IIS for your newly created site to ensure the ColdFusion references were created as expected.
ColdFusion 2021 Steps
-
Open PowerShell ISE on your server and paste the following script into it.
# Name of site in IIS that you'll be configuring. # Reference the site you've created in IIS. $site = "domain.com" # Ensure you've configured the above variable to reference the new site you've created in IIS. # Execute wsconfig and capture output $results = & "C:\ColdFusion2021\cfusion\runtime\bin\wsconfig.exe" -ws IIS -site $site -norestart # Check if the output was successful or not if ($results -like "*This web server is already configured for ColdFusion*") { # Unsuccessful. Need to run the removal command first. & "C:\ColdFusion2021\cfusion\runtime\bin\wsconfig.exe" -remove -ws IIS -site $site -norestart # Now run the creation command & "C:\ColdFusion2021\cfusion\runtime\bin\wsconfig.exe" -ws IIS -site $site -norestart } else { # Do nothing. Successful. } -
Change the
$sitevariable to reference your newly created site in IIS. -
Hit the “run” button for the script to execute.
-
Review the ISAPI Filters, Handler Mappings, and Virtual Directories in IIS for your newly created site to ensure the ColdFusion references were created as expected.
Step 5 (Optional): Adding a testing URL to your site bindings
Click here for instructions
-
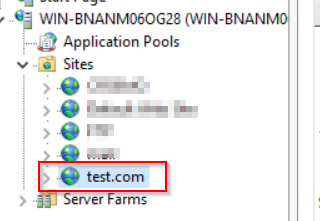
Select the site in IIS that you need to add a testing URL to.
-
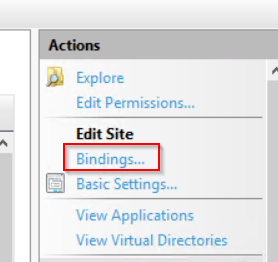
Select “Bindings…”.
-
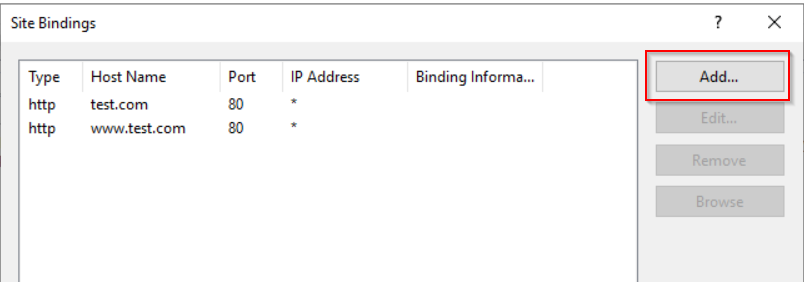
Select “Add”.
-
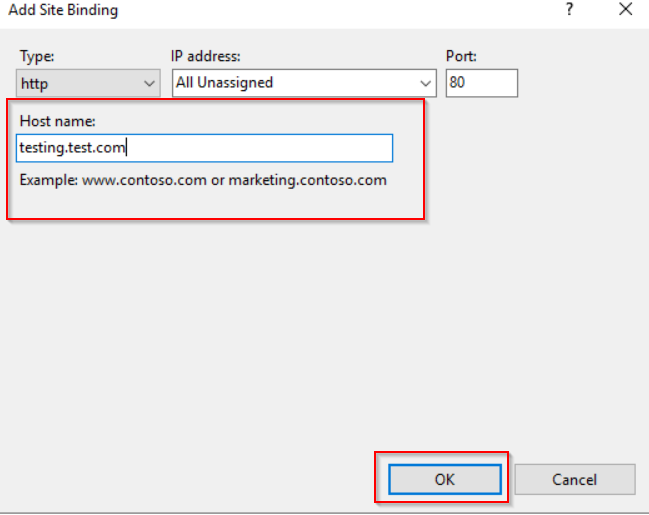
Type the testing URL that you would like to use, then select “OK”.
Once you have added the testing URL to the site bindings, you can either update the DNS for that testing URL to point to the IP of the server that you are testing on, or you can use the hosts file entry that is linked to in the next step of this article.
Step 6: Upload your site files and test
Below are some of our resources that will help you get started with uploading files to your website directory, as well as testing the new site without having to change DNS yet.
Please don’t hesitate to reach out to our team of engineers if you encounter issues or have any questions.